Leather Goods | Mobile Phone Case Manufacturing Process
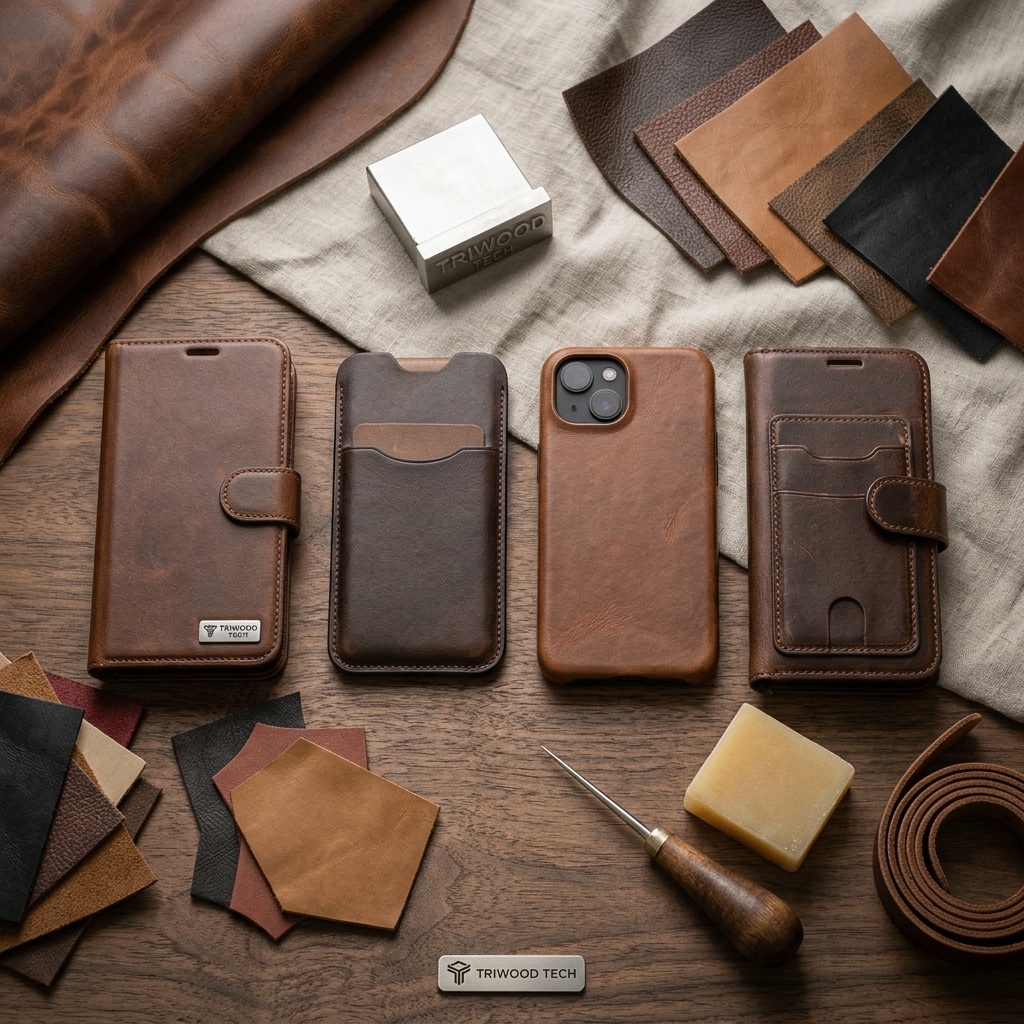
The manufacturing process for mobile phone cases may vary slightly depending on the materials used (genuine or synthetic leather), the product design (such as folio, card-holder, magnetic, or all-in-one styles), and whether the order is for sampling or mass production.
From initial product development and incoming material inspection through manufacturing and final shipment, our factory follows a comprehensive production process. Each stage is paired with the appropriate quality checks to ensure every product meets our standards for appearance, feel, and functionality.
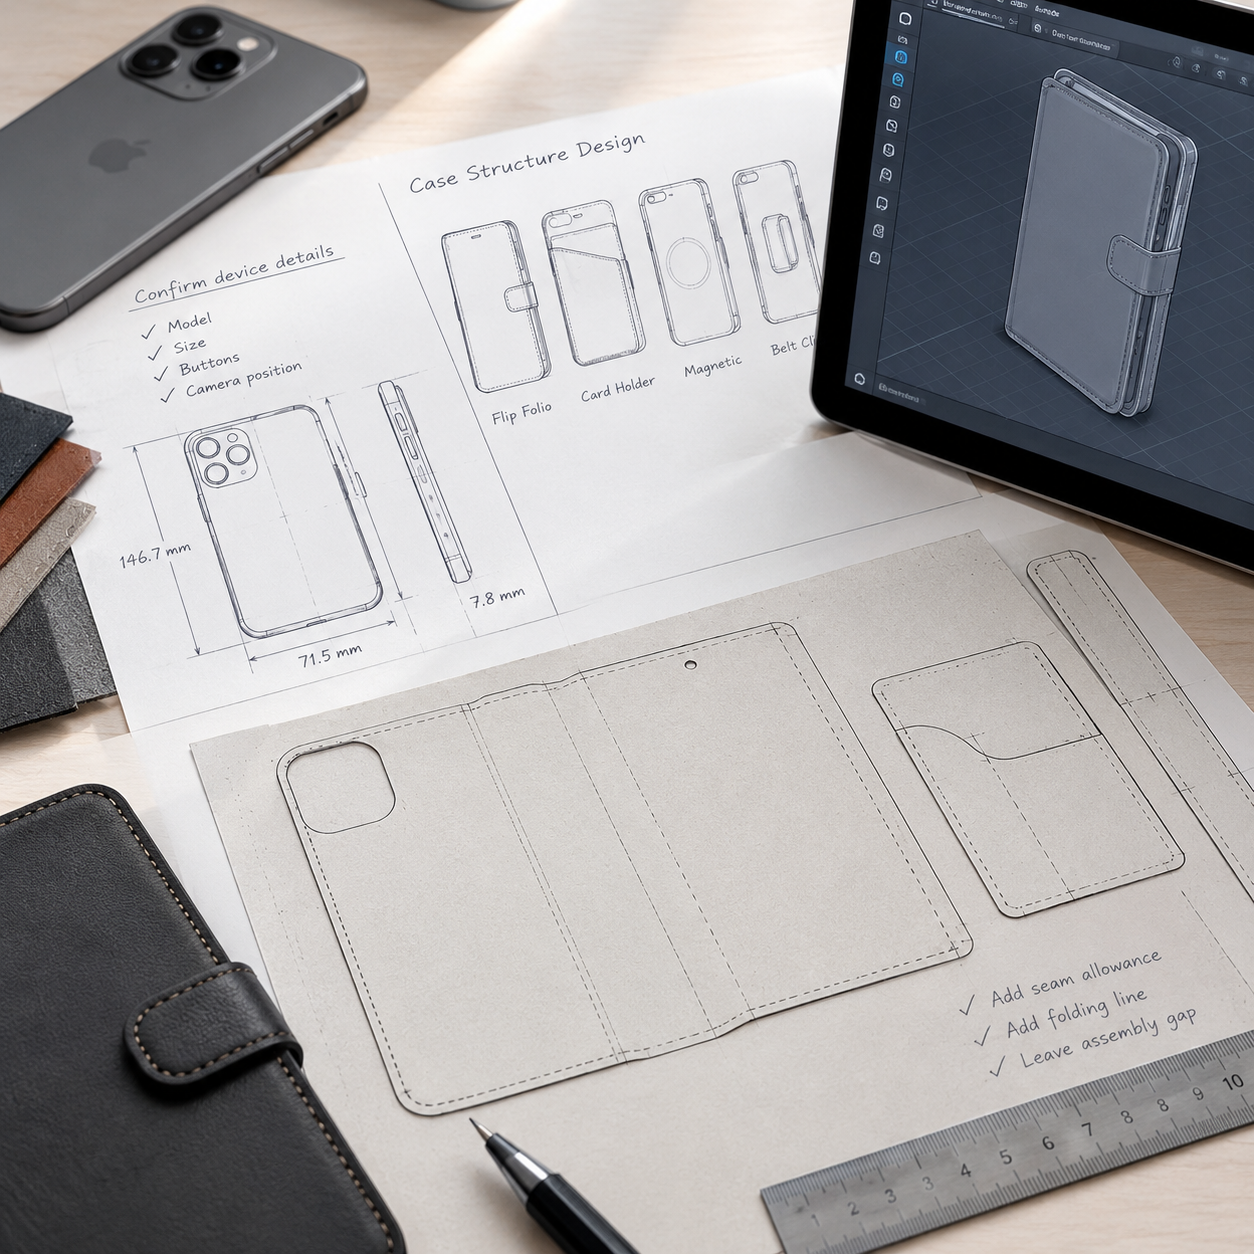
1. Product Development & Pattern Making | Establishing Production Standards
Once we receive your order requirements, we begin product development and confirm the pattern. This provides the foundation for the subsequent production process.
Verify phone specifications: Confirm the phone’s actual dimensions and the positions of its camera, buttons, charging port, and speaker openings.
Plan the case structure: Define the overall design and features, including the flap style, card slots, magnetic closure, and lanyard holes.
Prepare production specifications: Create engineering drawings, paper patterns, and cutting dies, allowing for seam allowances, folded edges, and assembly clearances.
Make and refine prototypes: Produce test samples and make repeated adjustments to the pattern, thickness, and feel. Once the sample is approved, retain a reference sample as the production standard for comparison throughout the manufacturing process.
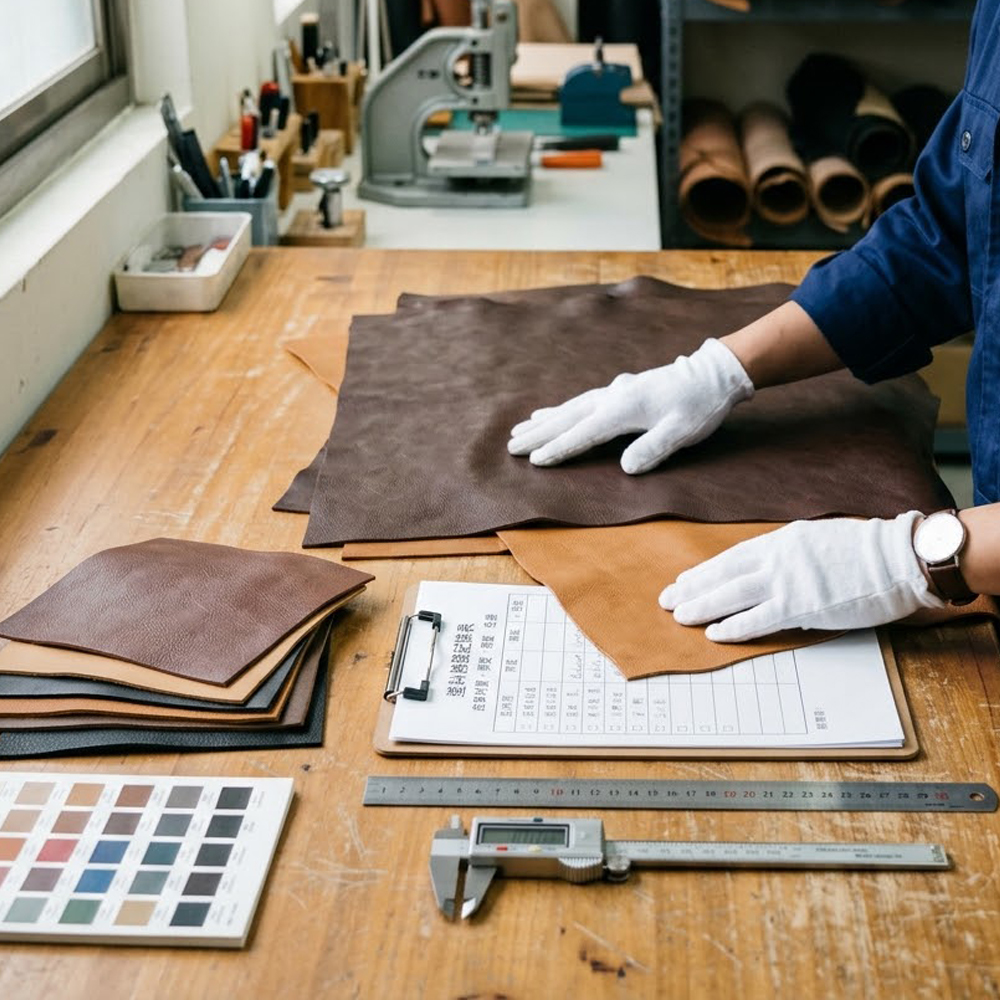
2. Incoming Quality Control (IQC) | Ensuring Material Quality
All raw materials must pass incoming inspection before entering the factory. Materials that fail inspection are not permitted for production.
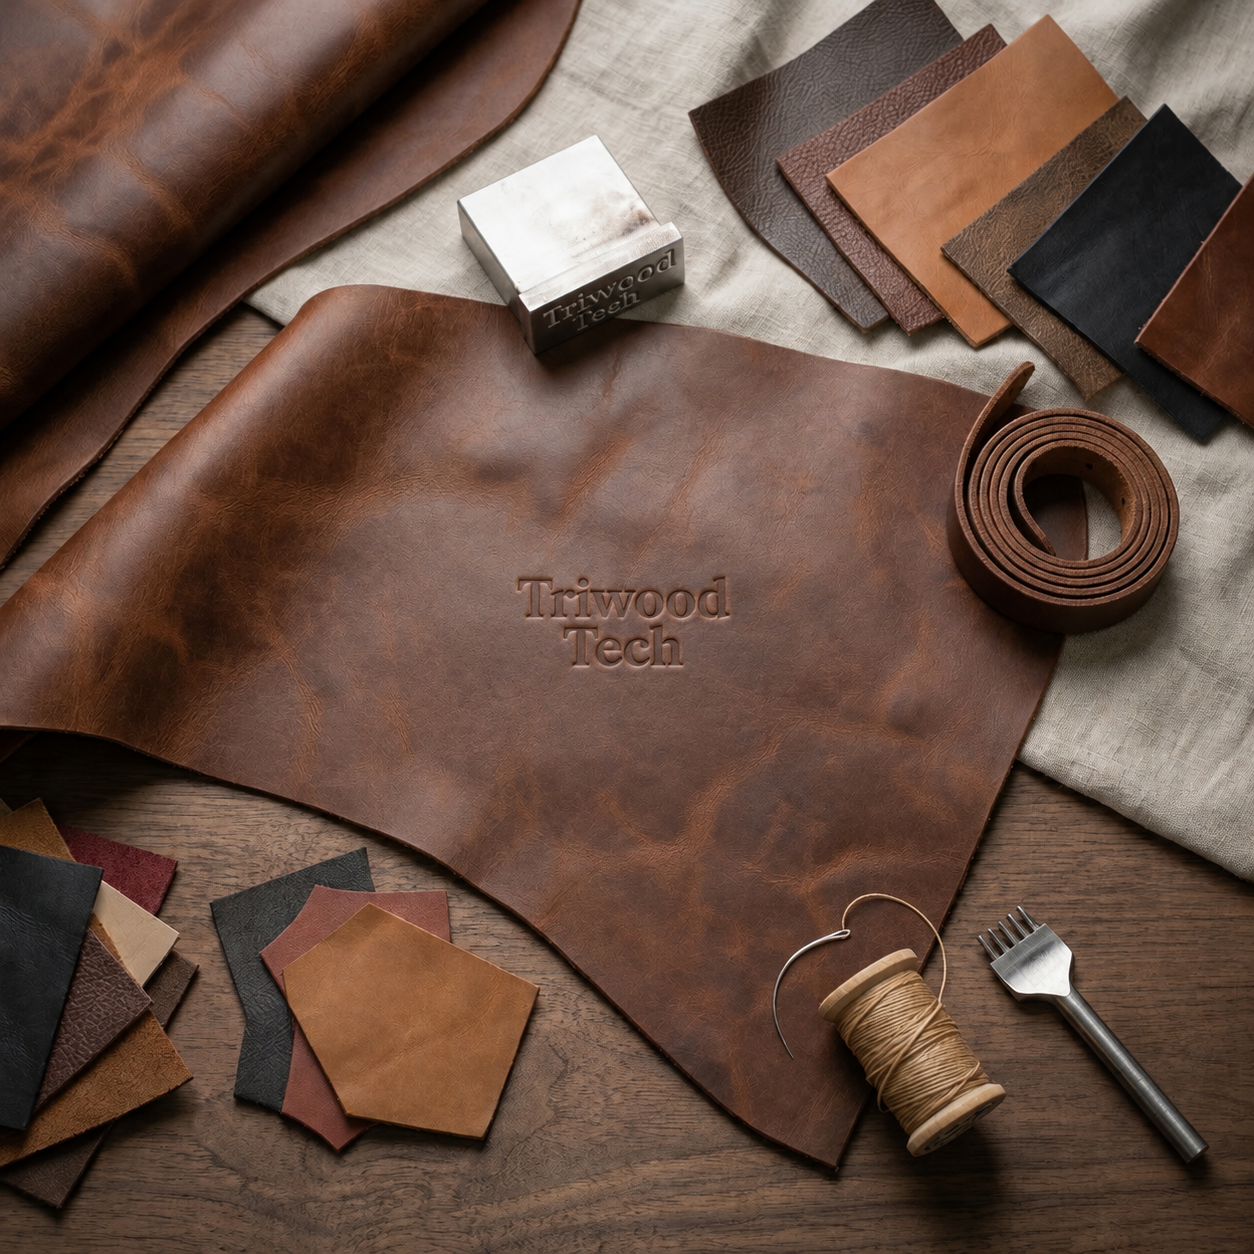
Leather inspection: Verify the leather type, color, and thickness. Check for surface scratches, insect marks, color variations, loose grain, dampness, mold, and other defects. Inspect the leather by area to assess how much of it is suitable for use.
Accessory and component inspection: Check the lining, foam, adhesive, sewing thread, edge paint, magnets, and metal hardware. Confirm specifications, appearance, and performance, as well as the adhesive’s expiration date. Metal hardware must be free of rust and scratches.
Quantity verification and traceability: Verify delivery quantities against the purchase order, and record supplier information and material lot numbers to ensure traceability. Quarantine nonconforming materials and label them accordingly.
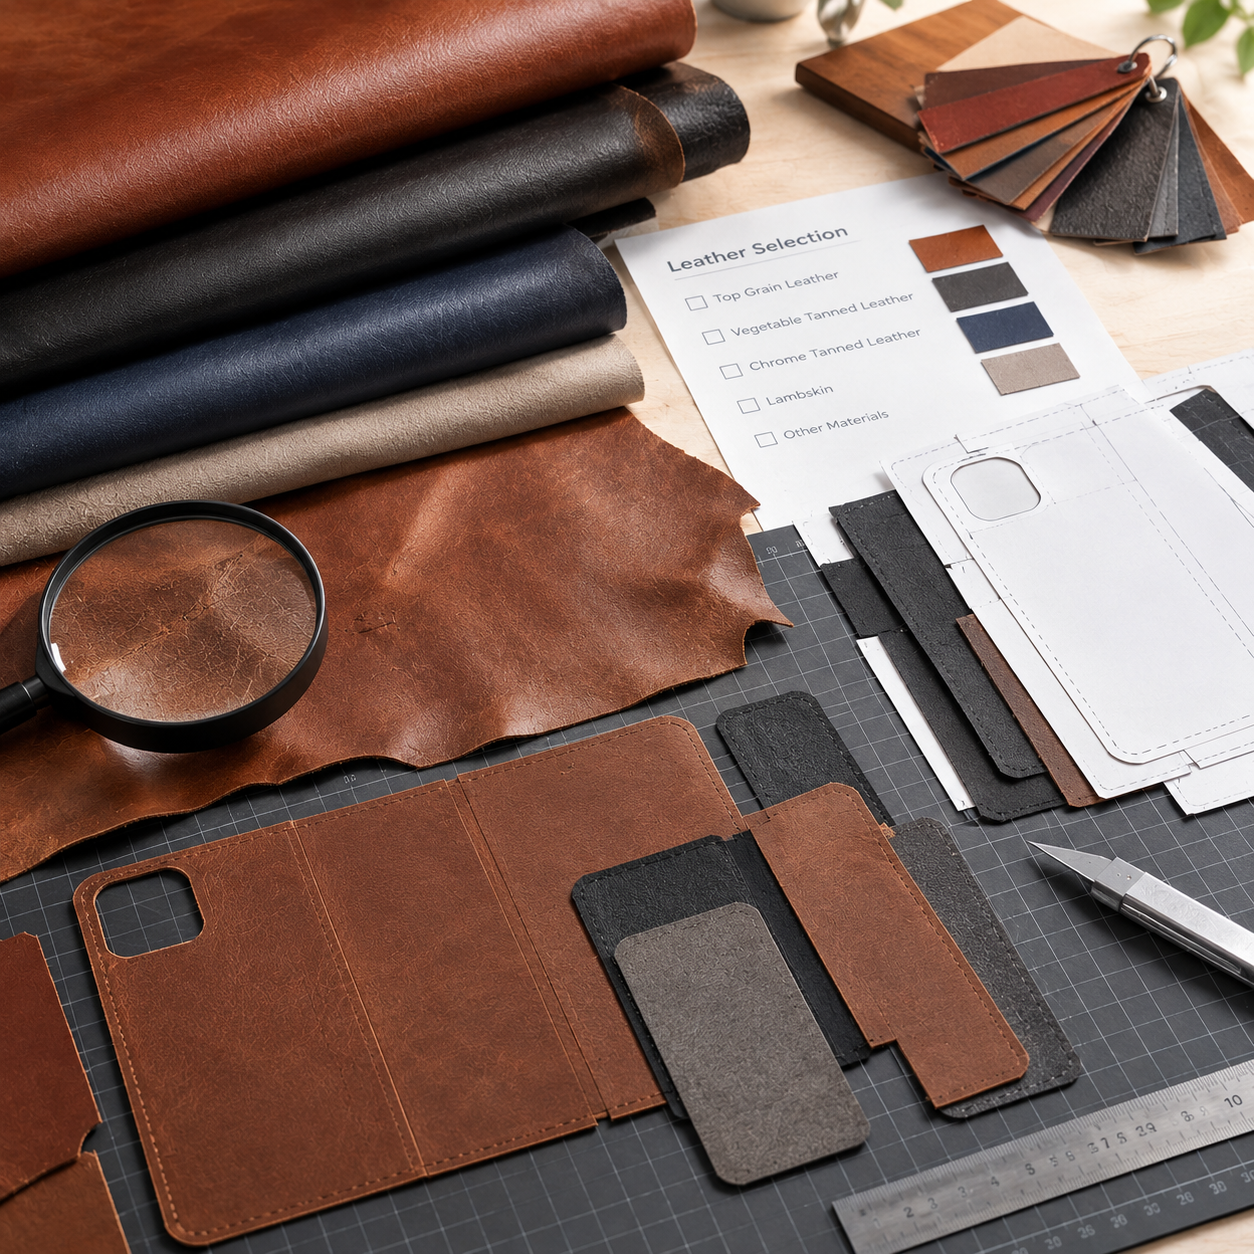
3. Cutting | Preparing the Basic Product Components
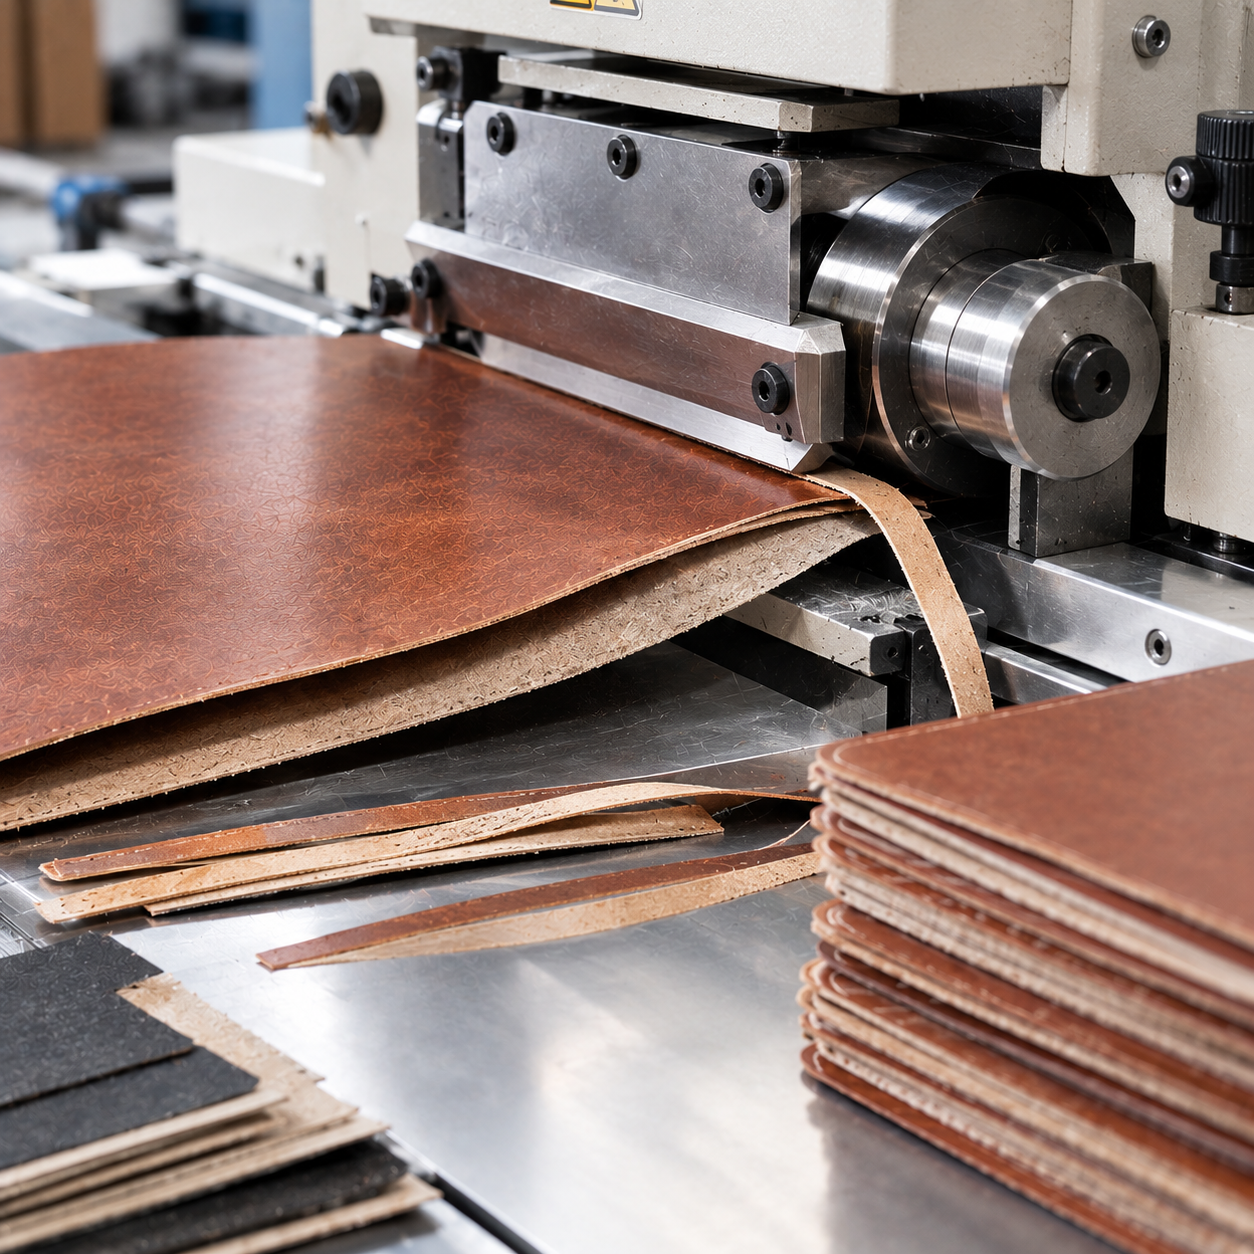
Using the cutting dies and approved patterns, we cut all required components, including the outer leather, lining, reinforcement pieces, and inner layers.
Follow the leather grain: Cut strictly in the direction of the leather grain to maintain a consistent appearance.
Control cutting accuracy: Check the dimensions, rounded corners, and preliminary hole positions of each cut piece. Remove any pieces with obvious surface defects.
Inspect and sort cut pieces: Check for missing pieces, chipped corners, and frayed edges. Keep different batches and leather colors separate to prevent mix-ups.
4. Skiving & Layer Preparation | Improving Fold and Bonding Quality
This process directly affects the case’s overall thickness, flexibility when folded, and ease of assembly.
Skive key areas: Skive the leather at fold lines, wrapped edges, and stitched seams so it can be folded and bonded neatly.
Prepare layered sections: Split areas that require multiple layers, while carefully controlling the overall thickness of the finished product.
Inspect skived areas: Ensure the leather surface is not cut through, there are no excessively deep blade marks, and the thickness is even and consistent.
5. Logo Application & Surface Pre-Finishing | Embossing, Foil Stamping & Laser Engraving
Process note: Logo finishing is carried out while the leather pieces are still flat, at the cutting stage, for the best results. Embossing after the product has been assembled is not recommended.
Apply the selected decorative finish, such as embossing, foil stamping, screen printing, or laser engraving.
Check the logo’s position, orientation, font size, color, and embossing depth.
Inspect for omissions, ghosting, misalignment, peeling foil, and damage to the leather surface. As the logo is a key customer-facing detail, every piece is inspected.
6. Material Bonding & Pressing | Building the Product’s Inner and Outer Structure
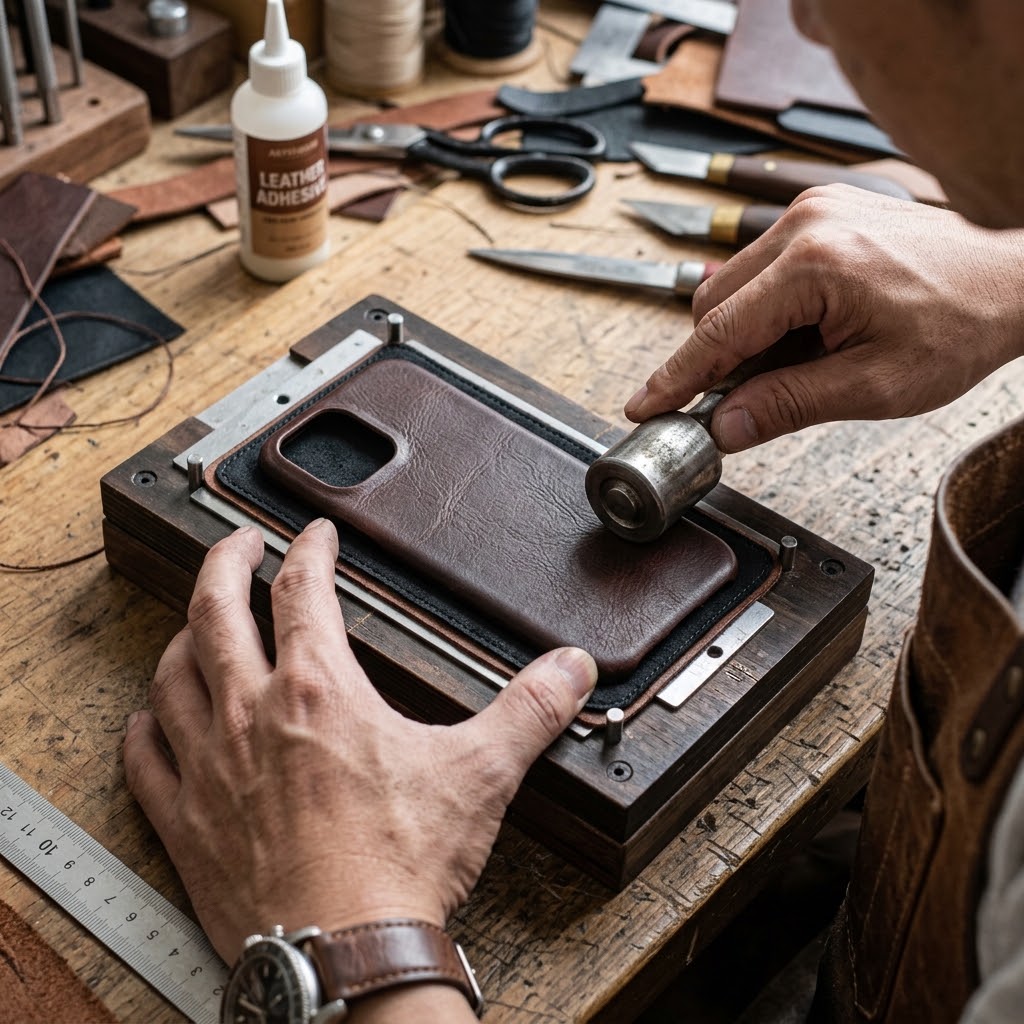
Use adhesive specially formulated for leather to accurately align and bond the outer leather, foam, reinforcement pieces, and lining.
Apply even pressure using pressing equipment. Allow sufficient time for the adhesive to cure, as specified by the process requirements. Do not rush the product into the next stage.
Inspect the bonded materials to ensure there is no delamination, bubbling, adhesive overflow, wrinkling, or misalignment. Adhesive must not seep through to the outer leather surface.
7. Precision Die-Cutting | Forming Functional Openings
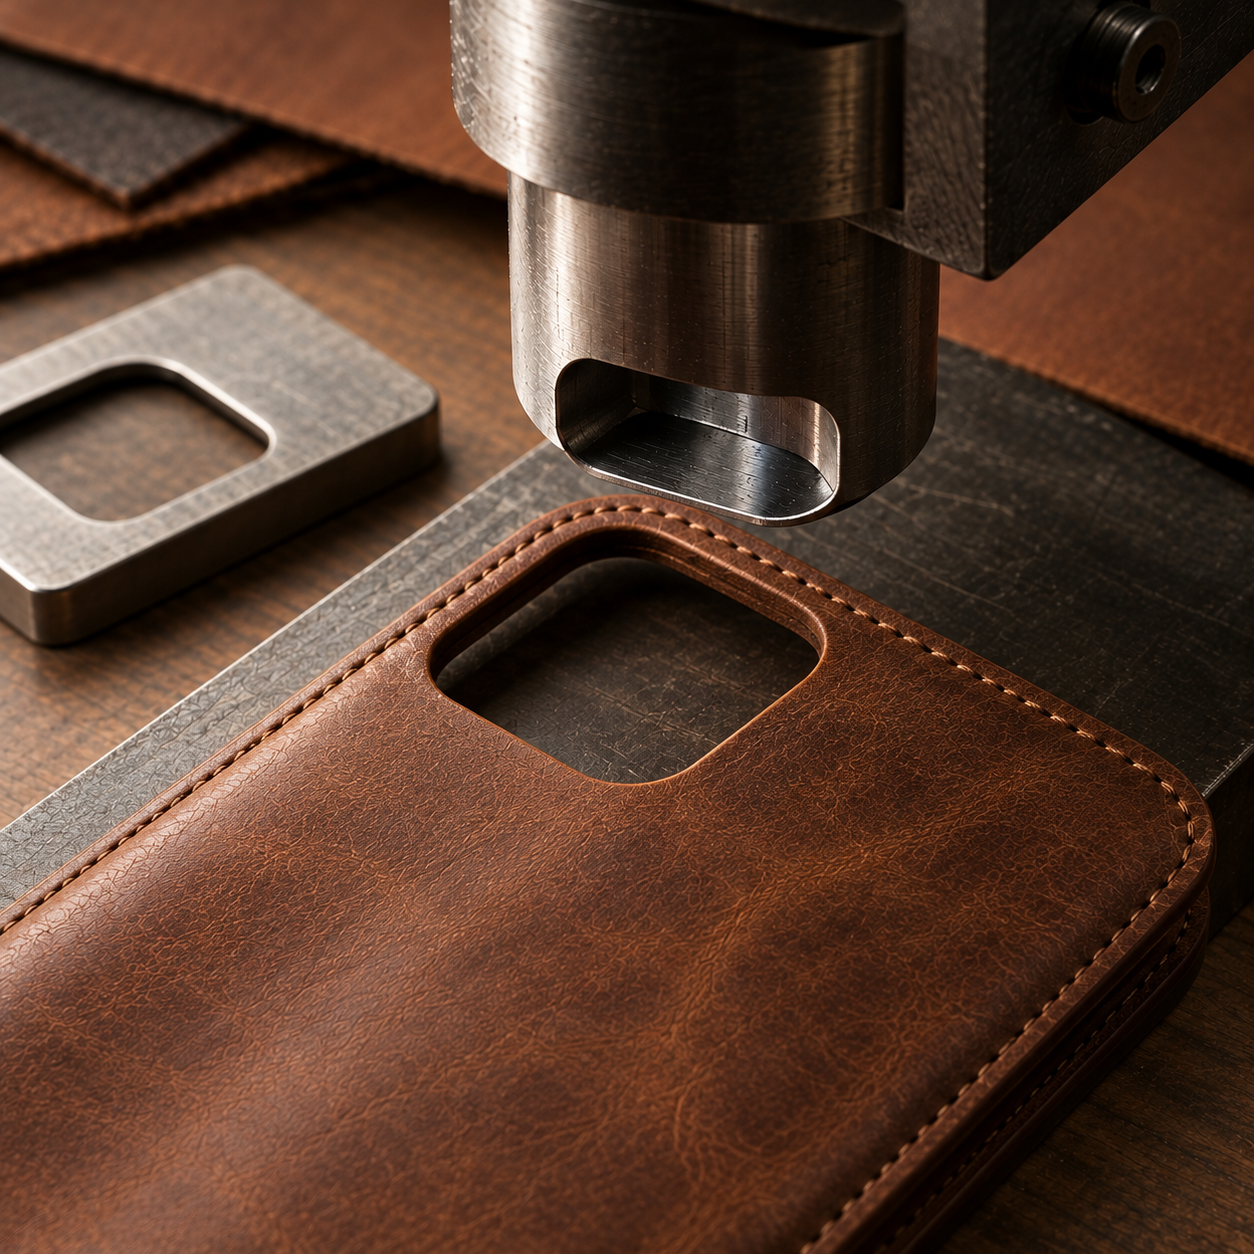
After the materials have been bonded, precision die-cutting is performed as a secondary operation.
Precisely cut the camera, charging port, speaker, button, and lanyard openings, as well as the card-slot openings.
Check that all openings are correctly positioned, with clean, burr-free edges, and do not obstruct any phone functions.
8. Edge Finishing | Edge Wrapping or Edge Painting
The edge-finishing method affects the product’s feel, appearance, and durability. The appropriate method is selected according to the product design.
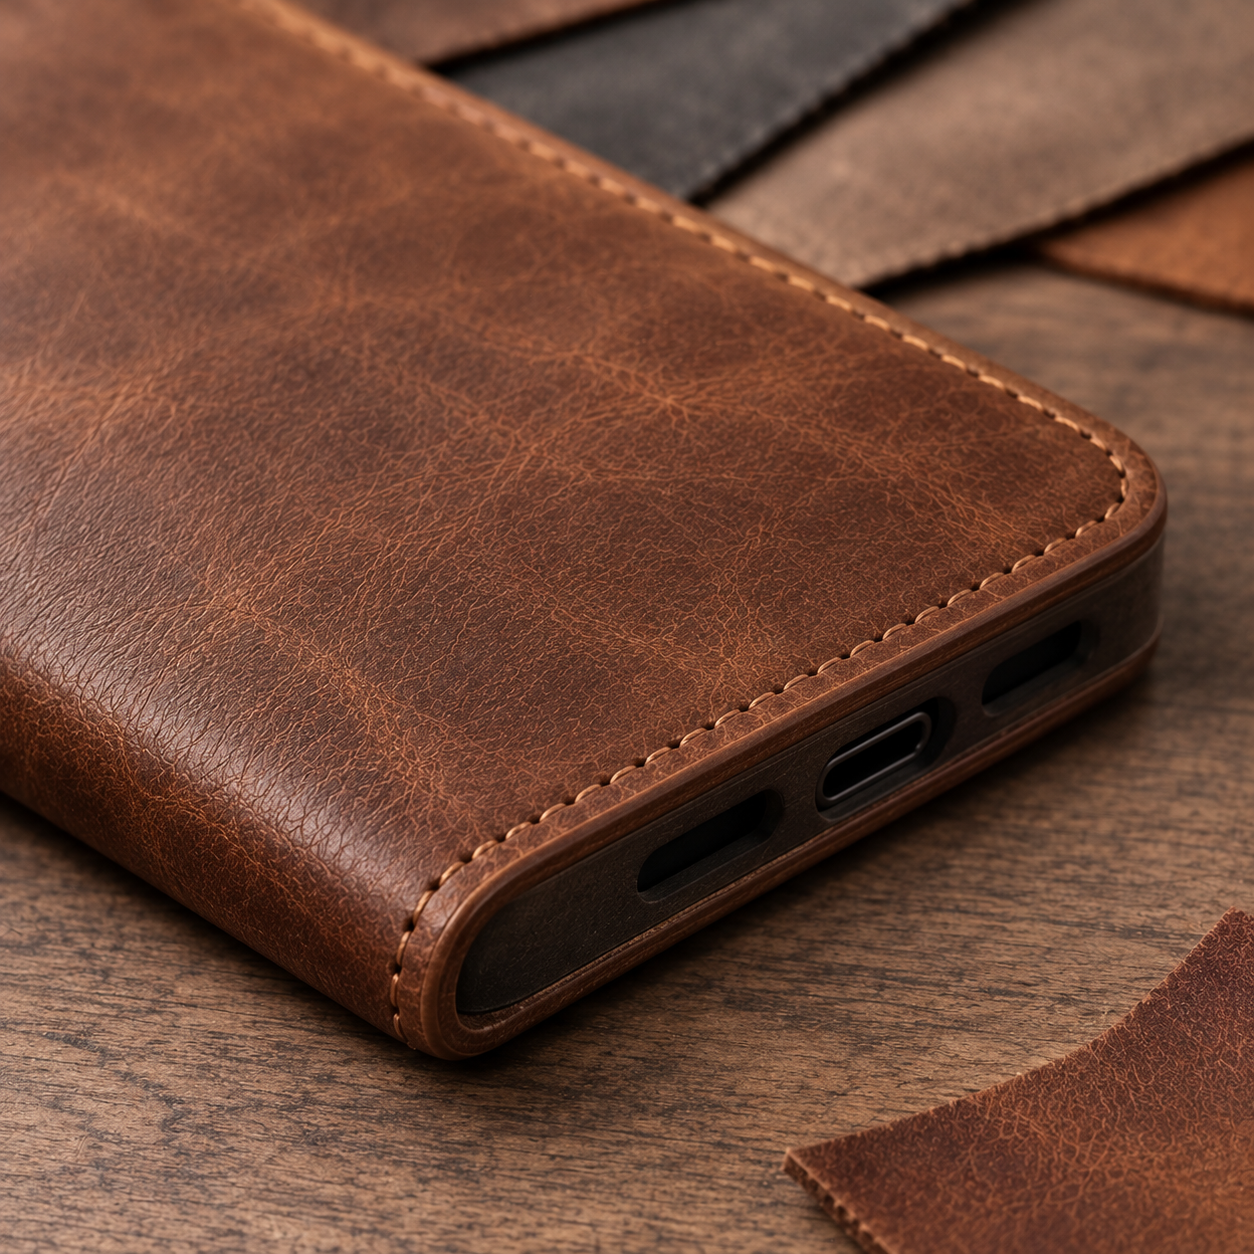
Edge wrapping: Wrap the exposed edges of the product with binding leather to reinforce them. Check that the binding is even in width, corners are smooth, and there are no splits or lifting edges.
Edge painting: Sand the exposed leather edges smooth, then apply edge paint evenly. Check that the color and thickness are consistent, with no runs, bubbles, or cracks. The paint must not peel after the product is bent.
Note: Depending on the style, edge painting may be done before or after stitching. Follow the production drawings.
9. Machine Stitching / Hand Stitching
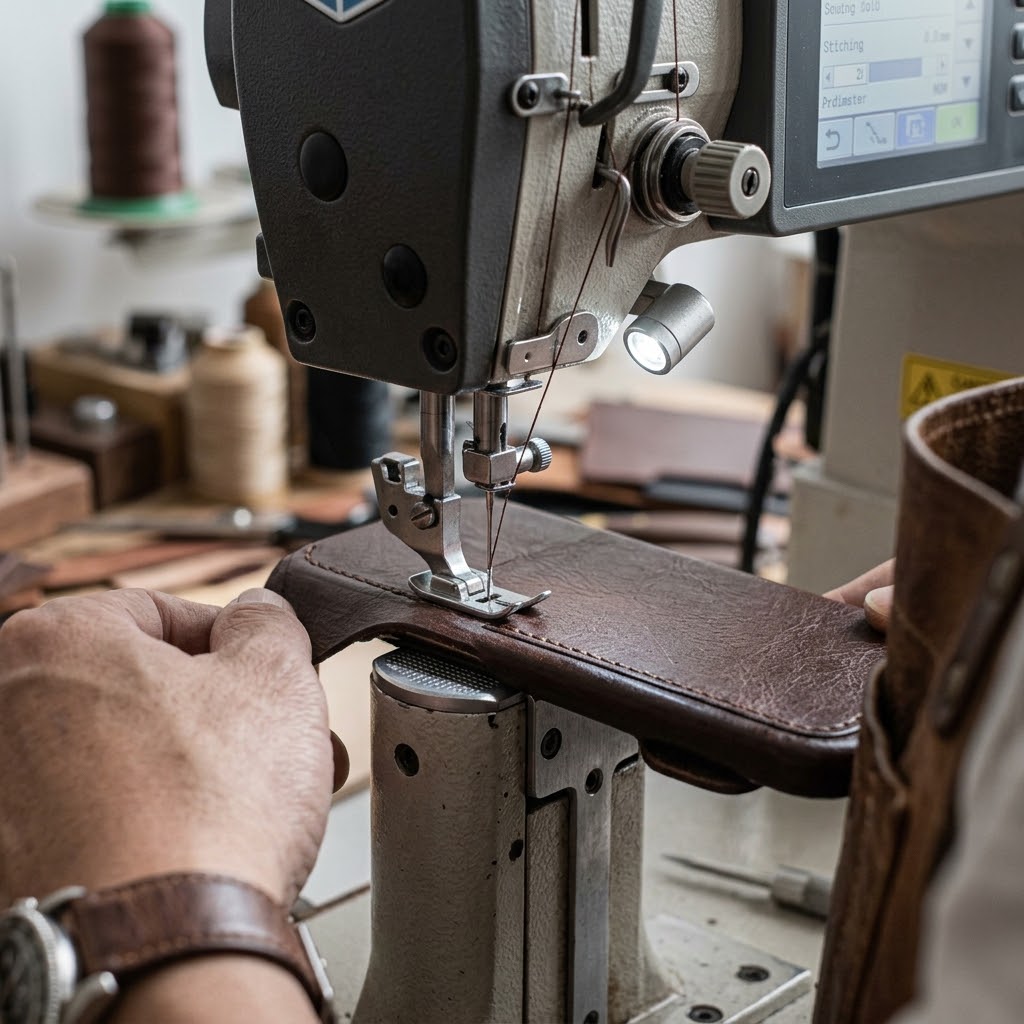
Styles for mass production: Stitch using professional leather-sewing machines. Stitches must be straight and evenly spaced, with reinforced starts and finishes. Prevent skipped stitches, thread breakage, loose threads, puckering, and needle damage to the leather. In-process quality control (IPQC) inspections are conducted throughout production.
Handcrafted custom styles: Mark and punch the stitching holes with a stitching chisel, then sew by hand.
10. Hardware & Functional Component Installation
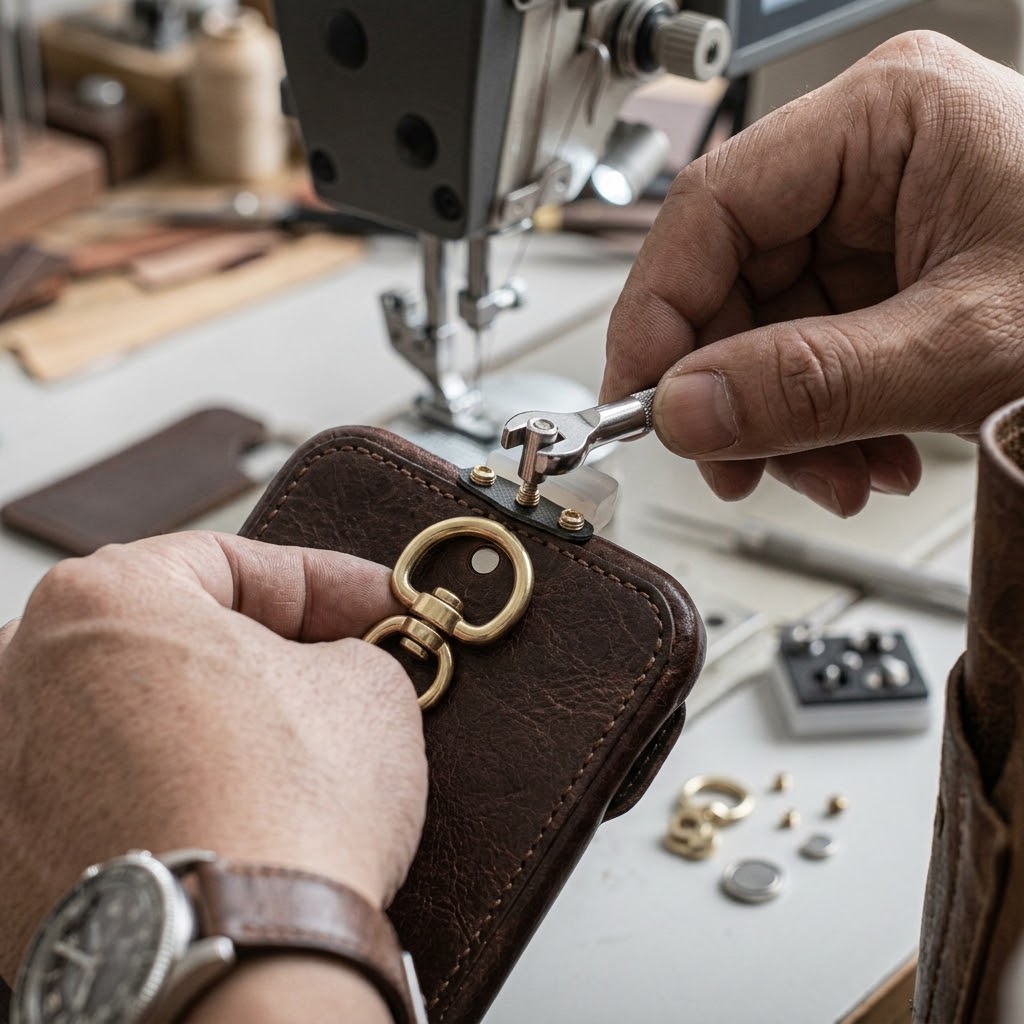
Install hardware such as magnets, snap buttons, D-rings, and hooks. Add reinforcement patches to load-bearing areas to prevent the leather from stretching or becoming deformed.
After installation, check that all hardware is secure and does not wobble, that the edges and corners are smooth, and that no components can scratch the phone.
11. Molding & Shaping
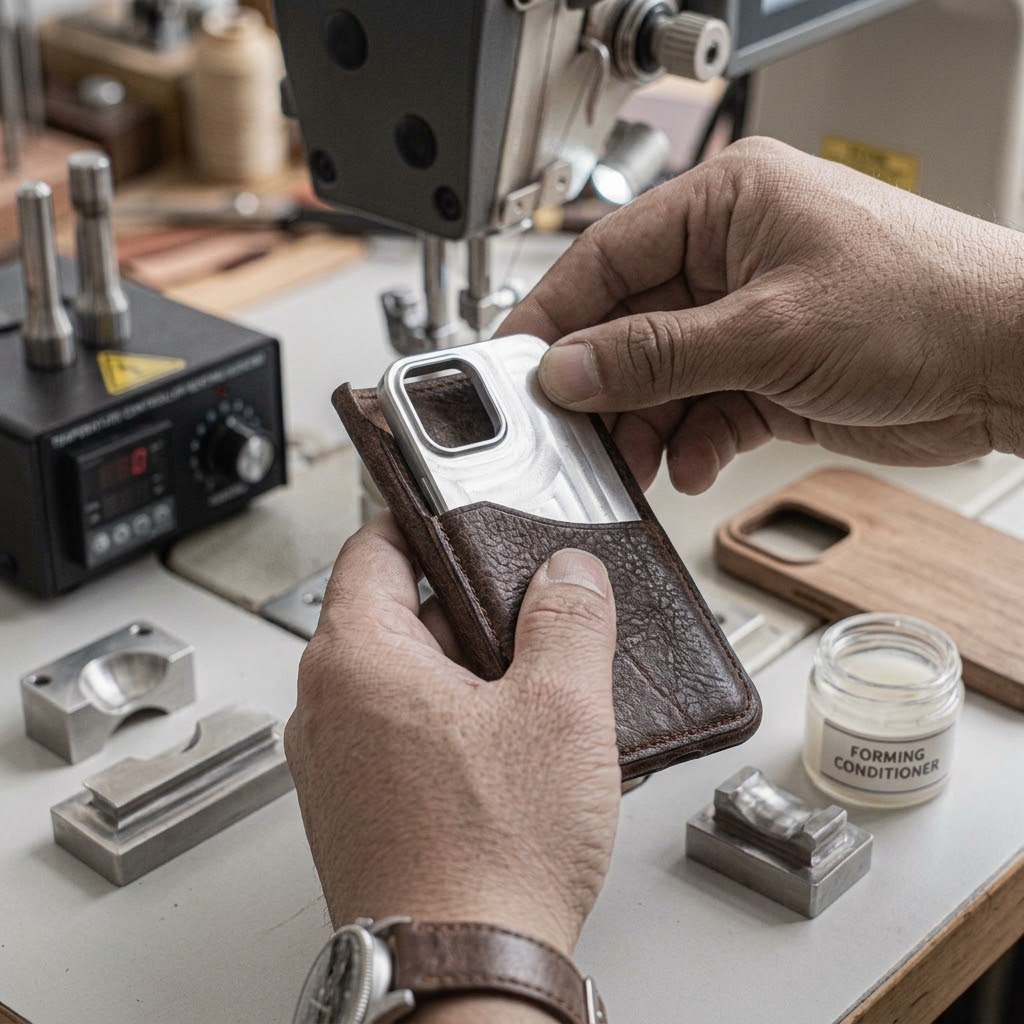
Insert a phone-specific jig or mold into the case, then use cold or heat pressing to set its shape. Adjust the flap curvature, opening and closing action, and magnetic closure strength to ensure the case maintains a consistent appearance and feels comfortable to use.
12. Surface Finishing & Cleaning
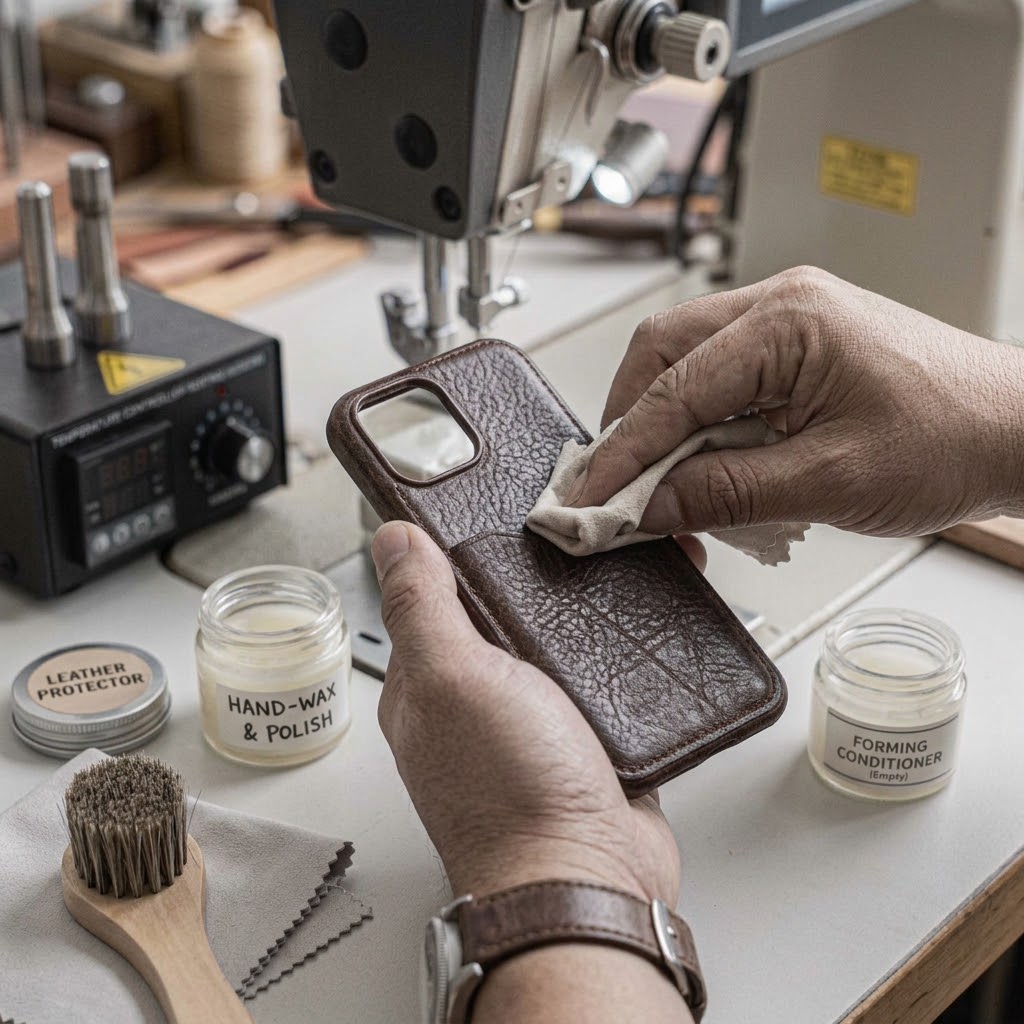
Remove any adhesive residue, loose threads, processing dust, and fingerprints from the product surface. Depending on the product requirements, additional finishing treatments—such as polishing, applying leather care wax, color rubbing, or distressing—may be applied to enhance the case’s look and feel.
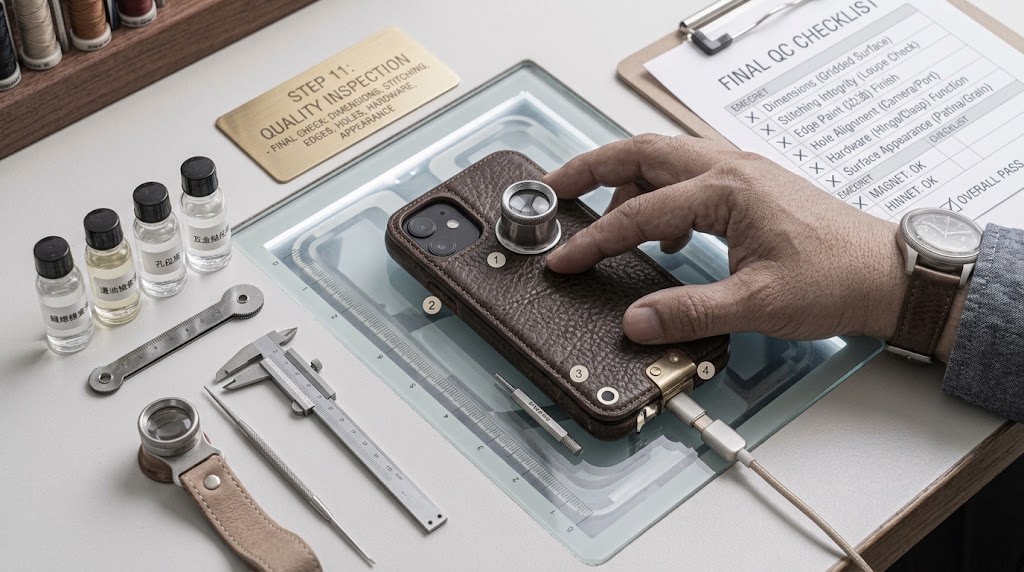
13. Finished Goods Quality Control (FQC) & Basic Reliability Testing
Appearance inspection: Inspect the leather surface, stitching, edge paint, logo, and hardware. Check for defects such as scratches, color variations, rust, and stains.
Functional testing: Use an actual phone or a standard model to check that the phone can be inserted and removed smoothly, all openings are unobstructed, the flap closes properly, the magnets hold securely, and cards can be inserted and removed from the card slots.
Basic reliability testing: Repeatedly fold and open the flap and insert and remove the phone to test the stitching and edge paint for resistance to repeated bending. Wipe the product with a white cloth to check for color transfer, and check for any unusual odors.
Defective products are identified and quarantined for rework or disposal.
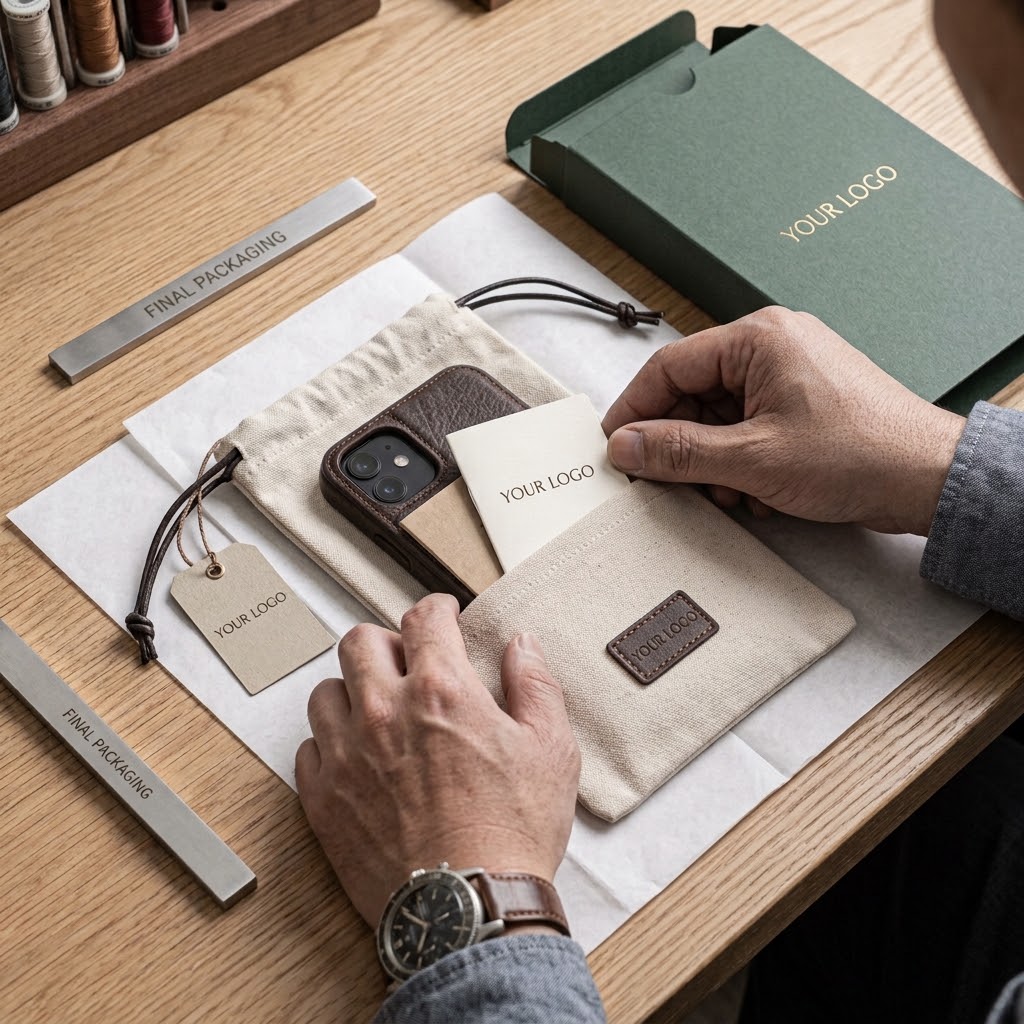
14. Pre-Packaging Verification
Before placing products in bags or boxes, conduct a final check:
Verify the product model, color, and quantity, and ensure left and right components are correctly paired.
Confirm that all accessories are included, such as the dust bag, care card, instruction leaflet, and hang tag.
Remove leather scraps, loose threads, and dust from inside the product to prevent style or color mix-ups.
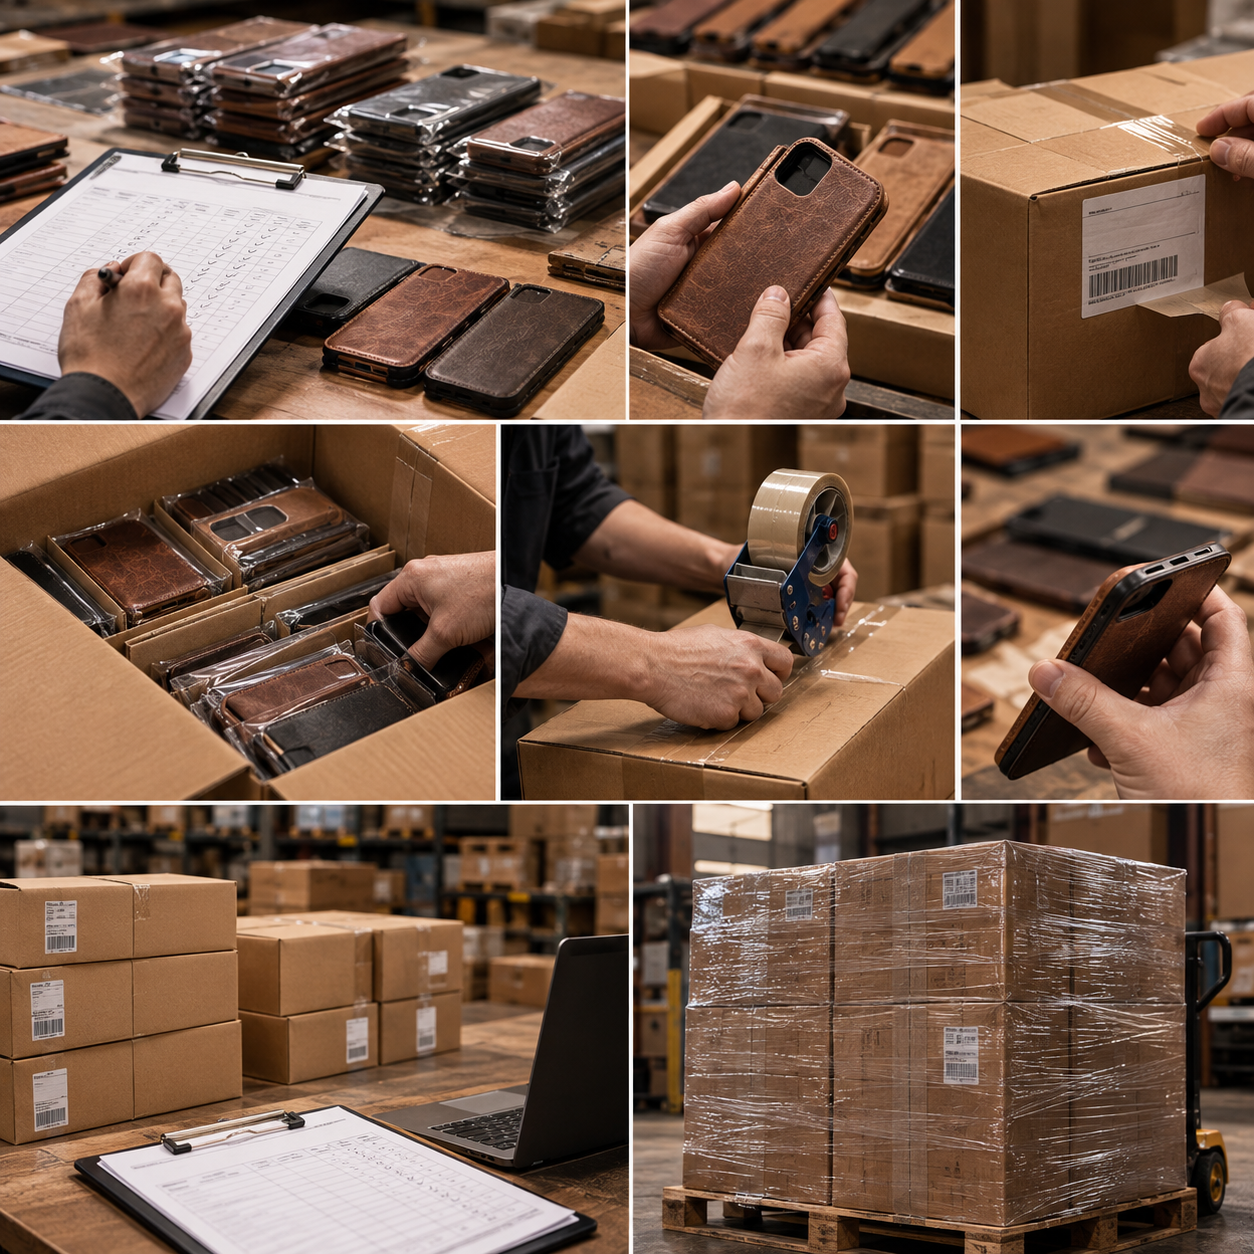
15. Outgoing Quality Control (OQC) Inspection
Before shipment, designated personnel conduct a final inspection of the entire order:
Verify the shipment quantity, styles and colors, carton labels, customer information, and packing quantity per carton.
Ensure the cartons are properly sealed and protected against moisture.
Randomly inspect finished products for appearance and functionality.
Shipment may be arranged only after all checks confirm that the products meet the order requirements.